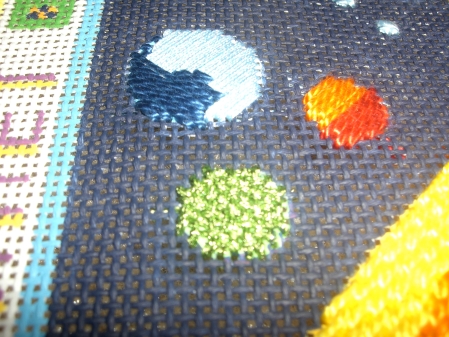
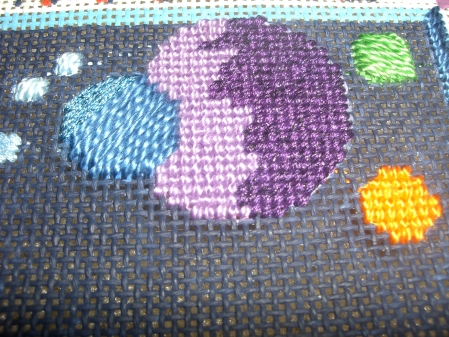
A wordless post, because I’m short on time, but not on progress.
A picture’s worth a thousand words
May 18, 2010It’s still January, right?
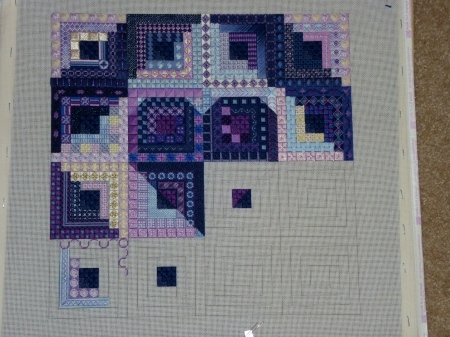
March 28, 2010Way back when, I was taking the ANG Cyberworkshop “Heart of the Cabin” with Susan Chaleff. I was doing great, keeping up to date on all of the monthly assignments. Then I went home for the holidays in December. During that time, I found out that my sister-in-law was pregnant, and thus I had not picked this piece back up until yesterday, when I finished the December assignment. So, it’s still January, right?
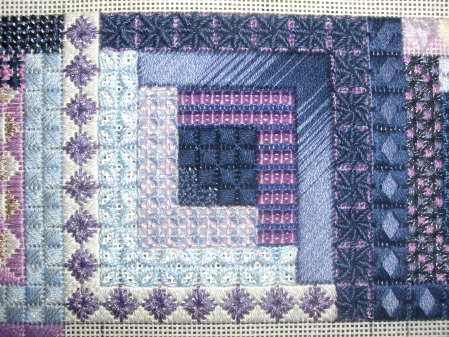
Here is block 7, which I finished before leaving for winter break in December:
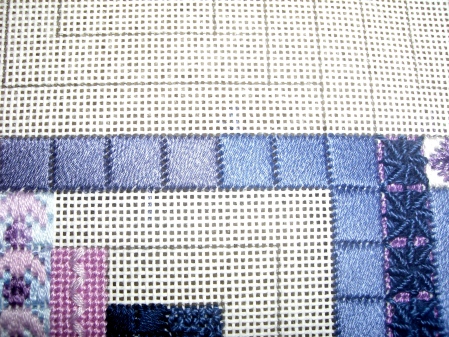
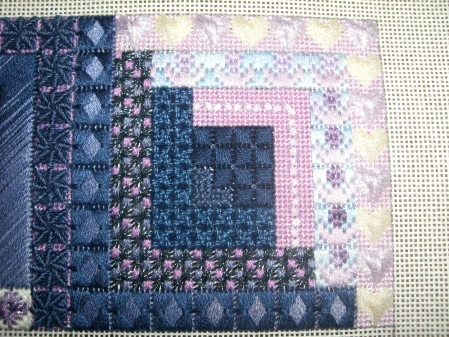
When I stitched block 8, log 4, I finished up one skein of DMC 122 and started another. Strangely, because they were all purchased at the same time, the first one I opened was a slightly different color than the 3 I had yet to open. I was not at all pleased at the change in color, but luckily after stitching the curtains you can’t really tell.
Color change:
Block 8:
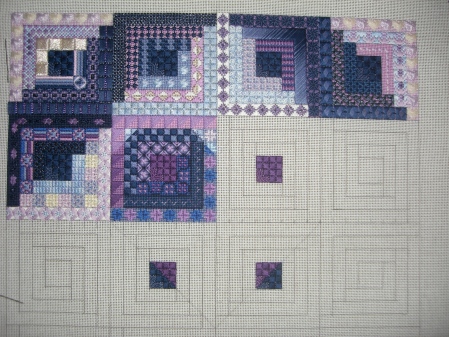
Lessons 1-3:
Okay, I’m ready for the baby now!
March 25, 2010Now that my needlepoint is completed, I’m ready for the baby to come! I know it’s going to be another 3 months, but I can’t wait to meet my niece!
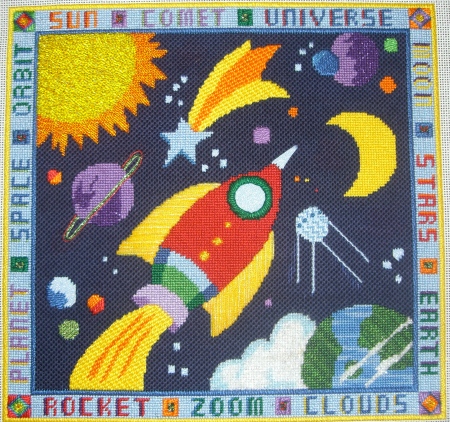
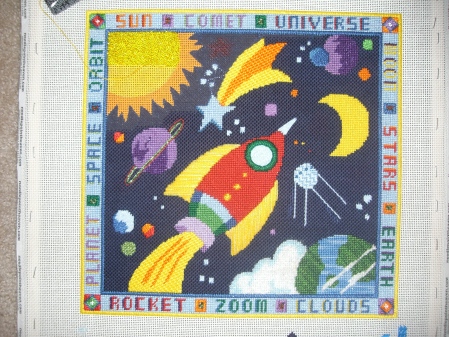
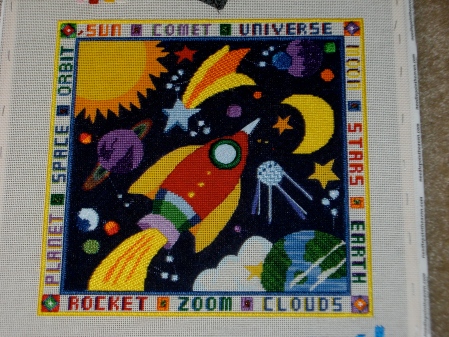
Here is the finished needlepoint. I’m very happy with how it turned out:
Space with Borders from Alice Peterson:
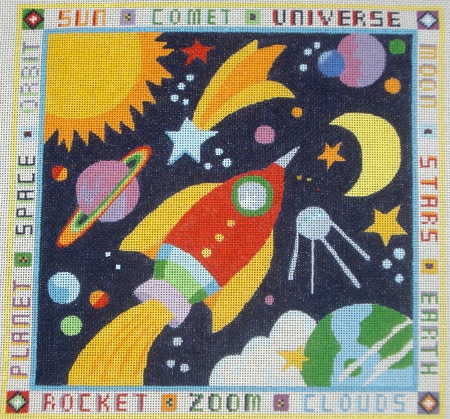
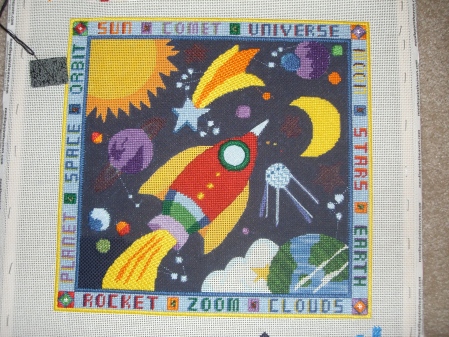
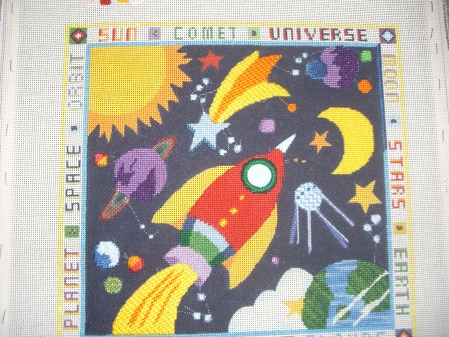
Here is the before picture for comparison:
I’m flying down to visit my brother a week from tomorrow, so I look forward to getting it finished down there!
Now, here comes the tricky part. I usually finish my framed pieces with a glass cover to help preserve them, but I love the textures on this piece. Because I used a number of stitches, beads, and threads, this feels nice if you run your hand over it. I think that a small child might enjoy being able to explore the different textures. But, I also want this piece to last until she (and her potential future siblings or cousins) grows up. What do you think? Frame with glass or without?
Here comes the sun
March 23, 2010I have not been able to get the classic Beatles’ tune out of my head since I started beading the sun. Hopefully that is all over now, because I FINISHED THE SUN!!!
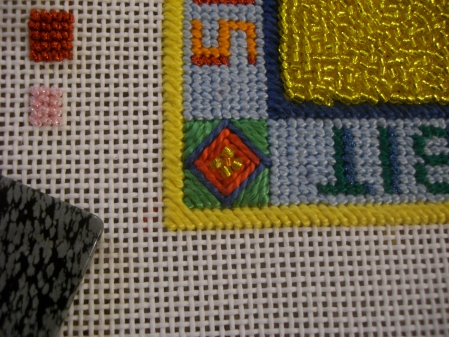
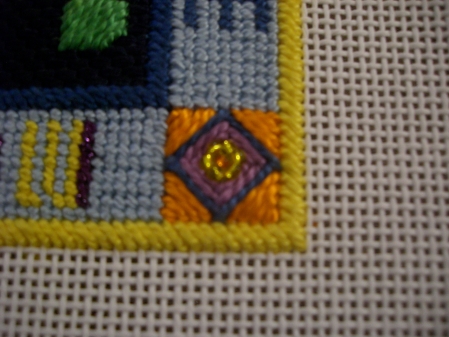
I also completed the beading in the corner blocks.
I first tried adding 1 yellow bead to the 4 ends of the + and an orange in the middle, but I didn’t like that:
So instead I strung 6 yellow beads onto the thread at a time and created a loop. I secured the loop in place to make a nice circle of yellow. I then added the center orange bead. Lucky for me, adding the orange bead pushed the yellow into a very nice circular shape. I’m happy with how this turned out.
All that’s left is a little bit of background. I may even finish tomorrow. WOW!
Cloudy with a chance of…
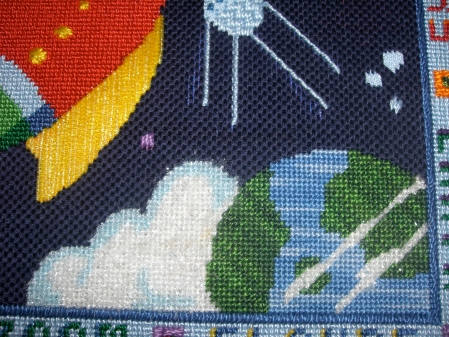
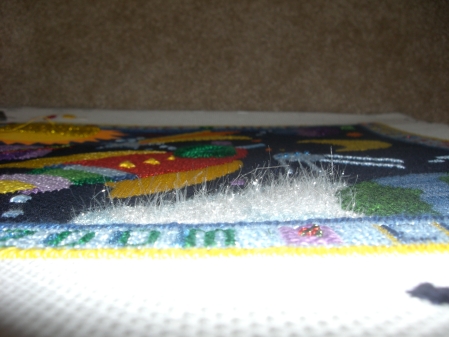
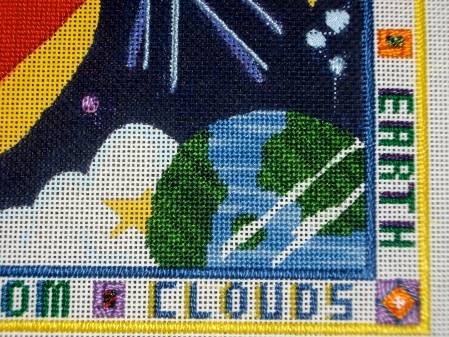
March 20, 2010I spent many days working tirelessly on the background in anticipation of stitching the clouds over the Earth. I chose Arctic Rays as the thread for the clouds, because of the “wispy fringe.” It shines and shimmers, and feels really great when you run your hand over the wisps.
I initially tried working this area with a larger stitch, but the tent stitch definitely looked better. As you can see, I took out the yellow star that was between the Earth and the Cloud. I was not a big fan of the stars on this piece, and I removed all of them except for the shooting star.
I hope from this picture you can see the dimension that the Arctic Rays adds to the piece.
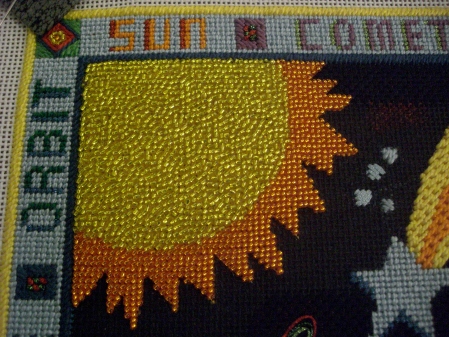
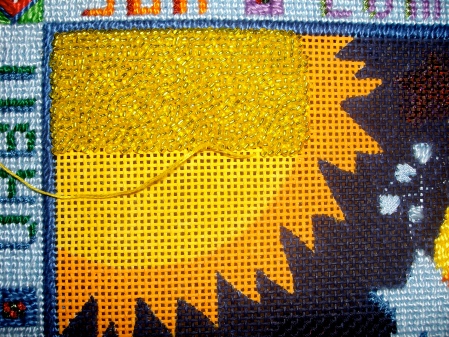
I have also started working on the sun. After changing my mind just over 1,000,000 times, I have finally settled on beading the entire sun. Though the pictures do not do it justice, the sun glitters like gold in the light. However, beading is a VERY slow process for me!
I’m working really hard to finish the piece before I visit my brother on 4/2. We’ll see if I can do it.
Here is what it currently looks like overall:
Ring around the rosie
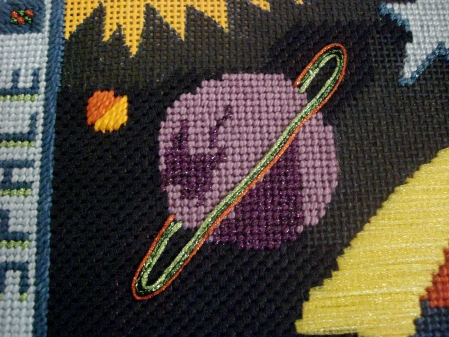
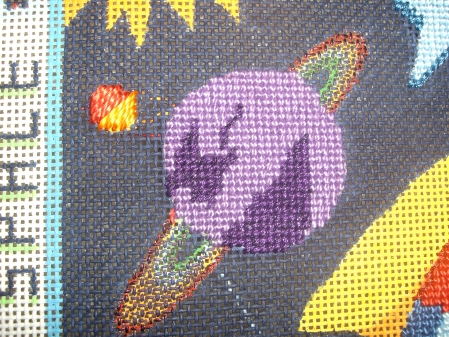
March 8, 2010I’ve been working all day on the background…and though I cheated a little bit by working in odd shapes, I rewarded myself by adding the rings around Saturn. The rings are Kreinik #16 braid, couched down with a strand of matching-colored floss (which hopefully you can’t see).
As you can partially see in this picture, earlier in the day I added the wings of the rocket ship. I created them using a simple satin stitch in Petite Frosty Rays.
I started experimenting with beading the sun, but I’ll save that photo for another day.
___ with Border
March 7, 2010Well, my Space with Border piece now has a completed border!!!
Sorry for the lack of posts recently. It has been a busy few weeks: getting ready for a cruise, going on a cruise, and catching up with work and life after a cruise. But boy was that cruise fun!
We had a week-long break from school for “mid-winter recess,” something I never had growing up but that I love as a teacher now! Over that week, I spent the first weekend with my brother, sister-in-law, and parents at my brother’s place. We had a great time, most of which we spent looking for baby furniture! And yes, the “friends” having a baby are actually my brother and sister-in-law. I’M GOING TO BE AN AUNT!!!!!!!!!!!!!!!!! Now can you see why I dropped all other projects to get working on this one? 🙂 YAY!
Then, my mom and I went on a 7-day cruise to Mexico. We had an amazing time — snorkeling, riding ATVs, hiking, shopping, gambling, and reading out by the pool. It was our first cruise, and we will both be going back soon (actually, in April for me!). The only thing I didn’t do on the cruise was needlepoint.
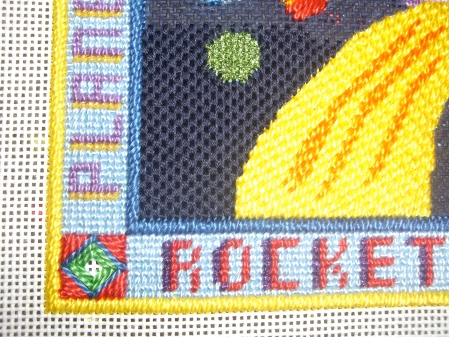
So, since I’ve returned I have been working hard on the Space with Borders piece for my NIECE!!! I finished the outer border, stitching the stark white canvas with light blue. I really like how this softens up the piece. I also started working on the background. It was difficult to find a background stitch that would be interesting (and quick!) but not overwhelm some of the smaller planets. I definitely compromised with the size of the stitch so it will take a little bit longer, but I like how subtle it is.
I can’t wait to finish the background and get going on the fun embellishments (Saturn’s rings, beading the sun, adding the clouds…)
Also, I can’t wait to meet my niece in a few months!
Sun, Comet, Universe…
February 11, 2010Since my last post, I’ve been busy working on the border of the Space-With-Borders needlepoint.
I stitched all of the words in perl cotton, then added the highlighting in the metallic threads.
The corner pieces I stitched with long stitches, leaving the center blank. I’m thinking of adding beads here at the end of the piece.
For the boxes in between the words, I used french knots for the center color.
Left to do:
- Background on the border
- Background in center of the piece
- Sun (w/beads)
- Clouds (w/fuzzy thread)
- And maybe the stars…
I’m thinking of taking the stars out of the piece. All of my attempts so far to stitch them have come out not to my liking. Any suggestions on how to stitch the stars?
Sorry for the brevity on this post — I have to finish packing, and then I’m off to one more day of work, then a vacation 🙂 WHEEEEEE
Test
February 2, 2010I bought a Droid on sun and have been having so much fun playing with it. This post is just to test a blogging app from the phone
My Very Educated Mother Just Sent Us Nine….
January 31, 2010Growing up, there were 9 planets in our Solar System. Now, I think there are just 8. Luckily, I haven’t had to teach this yet in my career.
Hey, speaking of planets…I finished stitching all of the planets on my piece for the baby! I decided to stitch most of them with a satin stitch. I think this looks much nicer than a tent stitch, and may end up pulling the last of the planets left in tent. I have had a lot of fun working with different types of metallics here. I think they add just the right amount of interest to the planets.
I also stitched the moon. When I went to my LNS last weekend with a friend, I picked up some glow-in-the dark thread for the moon. I picked up blending filament and planned on stitching it over the perl cotton, but when I checked the glow effect, I thought it would be a little scary for a small child. In an effort not to scare the baby, I pulled it out. I need to find a way to work this into some piece in the future though!
So, here are my planets.
Overall:
Planet with rings — I’m going to stitch over the rings, then couch them on top after the background is complete
Blue Planet corner
Purple Planet corner
Next steps:
1) Medium Blue Border
2) Navy Blue Background
3) Word Border
4) Clouds
5) Sun***
I changed my mind again about how I want to stitch the sun. I picked up some floss and matching beads. I think this will be a lot more fun to stitch than Flair/Frosty Rays…and beads give that extra sparkle. So, no more french knots. We’ll see if this is still the gameplan when I get around to stitching the sun.


 Posted by Micks